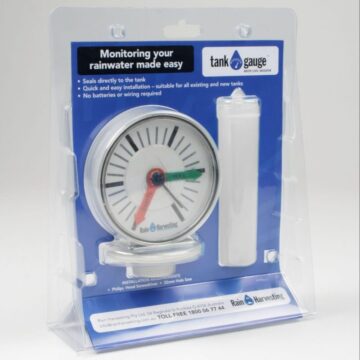
This tank level indicator is a handy tool for accurately monitoring the level of rainwater in your tank. Having ready access to your rainwater supply levels can help you make better water usage decisions and be more water wise!
Features:
- Seals directly to your tank
- Utilises a reliable float system
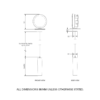
- Suitable for existing and new tanks, up to 2.5 metres in height
- No batteries or wiring are required
- Easy to read dial face with adjustable empty and full indicators
Why install a tank level indicator?
You can measure your stored water in a quick glance, track the amount of water received during rainfall events and monitor your water consumption over time.
Installation Instructions
Select an installation point on top of your tank for your Tank Gauge. Ideally, this should be a flat area that will allow you to view the gauge face easily. Mark your chosen installation point.
Use a power drill fitted with a 32mm (1.25″) spade bit or holesaw to create a 32mm (1.25″) hole in your tank at the marked location.
Carefully remove the front clear cover from your Tank Gauge with the edge of a flathead screwdriver or 5 cent piece (nickel) to enable access to the moveable empty and full indicators
Note: The following steps are more easily accomplished with two people working together.
Have one person hold the base of your Tank Gauge at the height of the previously drilled installation hole and have the other person lower the float until the top of the float is level with the bottom of your tank overflow outlet. If your overflow outlet is not near the installation site, measure down from a known common point on the tank and use this measurement to set the float as described.
Move the green “full” dial/indicator to where the black water level dial/indicator is pointing.
While one person continues to hold your gauge in place as described in step 5, have the other person lower the float until the top of the float is level with the bottom of your tank pump outlet.
Move the red “empty” dial/indicator to where the black water level dial/indicator is pointing.
Replace the front clear cover.
Retract the string and float to 90% level. Pinch the string with your finger against your Tank Gauge body to prevent the string retracting any further.
Bring your gauge and float up to the installation hole and lower the float through the installation hole until it rests in the water. Position the gauge body in and over the installation hole.
Position your gauge so that the “full” and “empty” indicators are clearly visible from the ground.
Using the supplied screws, secure your Tank Gauge to the top of your tank.


